Wednesday, March 7, 2018
Marble Contact Paper Box
I loved how the previous box project turned out so I made a similar one using marble adhesive paper. This time, I attached the adhesive to the entire box and added a gold hued handle. A huge savings and a great look compared to the inspiration piece.
Tuesday, March 6, 2018
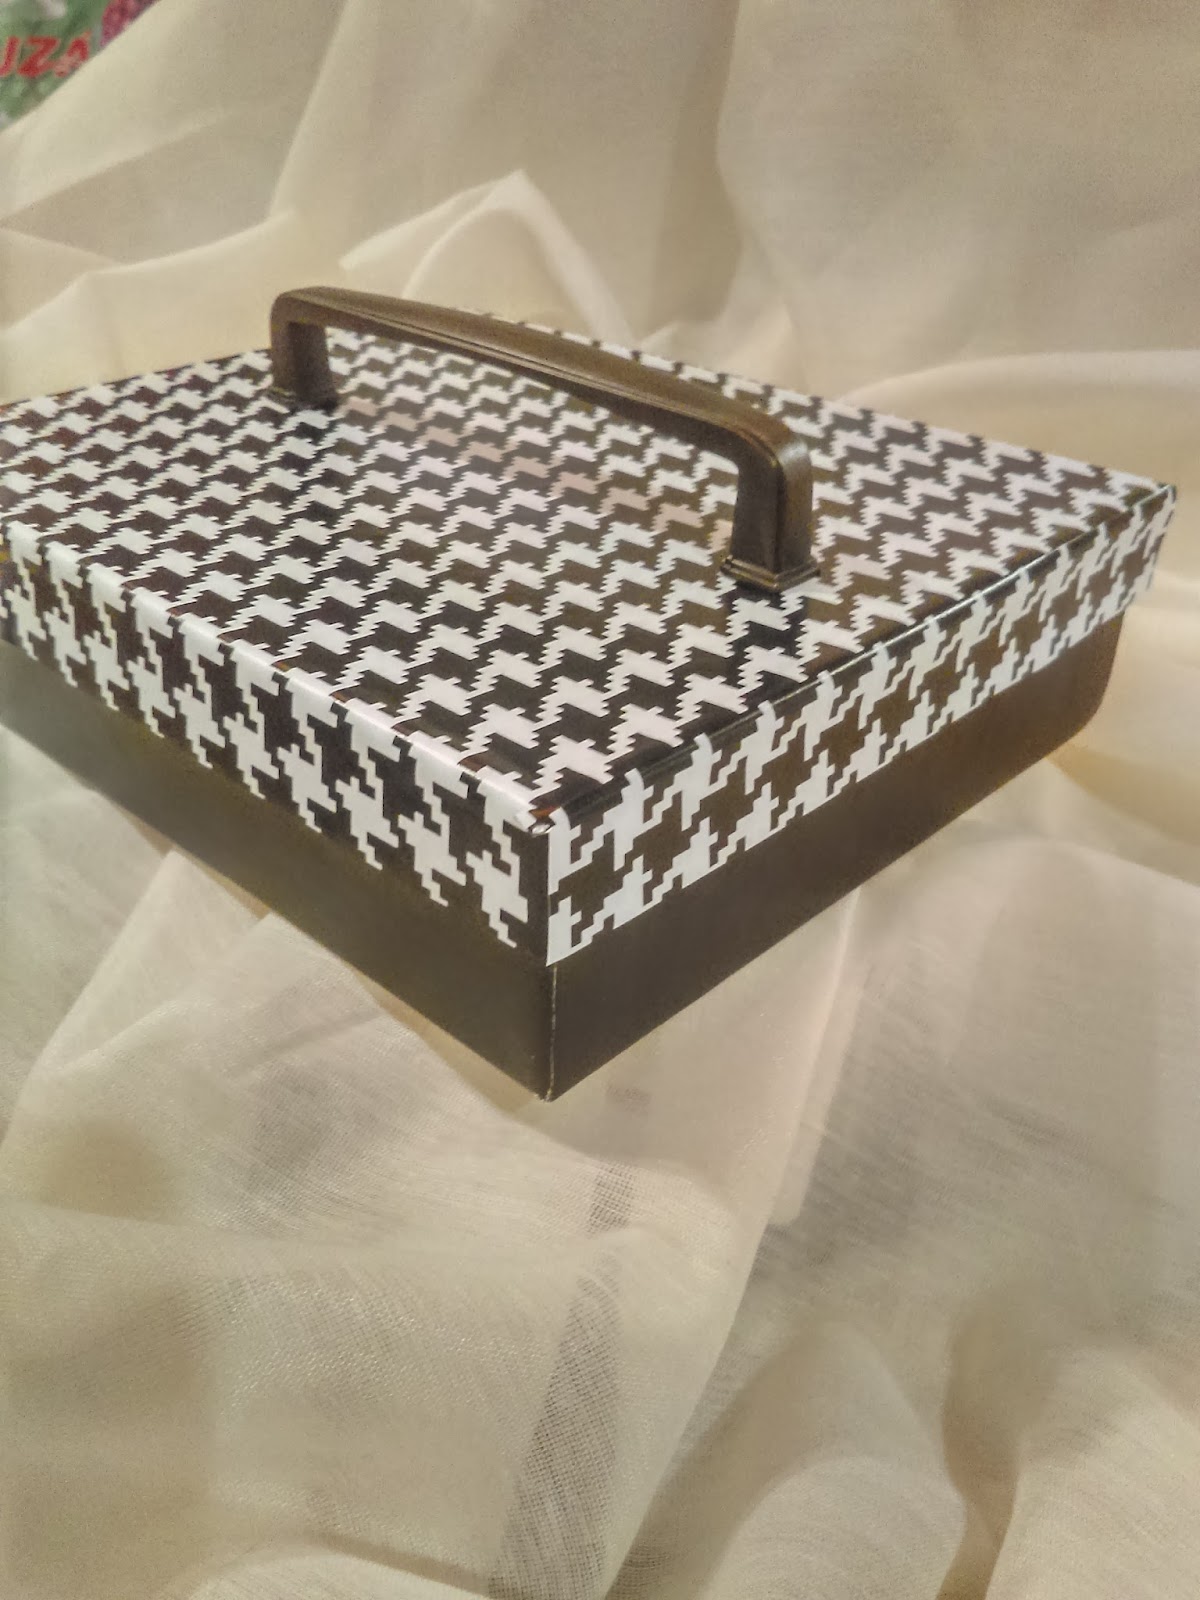
Glammed Up Box with Hounds Tooth Contact Paper
Love houndstooth pattern and decided to cover a box lid with the adhesive. I added a handle to the top of the box. The bottom of the box is solid black to contrast with the patterned top.
Monday, March 5, 2018
Easy Artisan Bread
This is the easiest bread I have ever made. And it doesn't use any sugar!
Start by mixing 3 cups of all purpose flour, a teaspoon of salt and a teaspoon of yeast together in a bowl. Add 1-1/2 cups of warm water to the mixture. Stir the ingredients and cover the bowl. Let the mixture sit at room temperature for 8 hours. You can let the mixture sit for up to 24 hours. Once you have waited at least 8 hours, turn the out on a lightly floured surface and form a ball. Now let the ball rest, uncovered, for 30 minutes. After 20 minutes, pre-heat the oven to 450 degrees and place a 6 qt. high sided pan into the oven to pre-heat as well. Something like a dutch oven is ideal. Once the oven reaches 450 degrees, transfer the dough ball into the dutch oven and cover the pan with aluminum foil. Bake the dough for 30 minutes, then uncover the bread and continue to bake for an additional 12 minutes. Done! Bread, anyone?
Sunday, March 4, 2018
Hot Glue Jewelry
Want to make jewelry but don't have any findings, wire, cording or jump rings. You can if you have a glue gun and some beads.
Take a string and place it around your finger or wrist. Take the length of the string and lay it out on a piece of glass. Use a hot glue gun and form a rectangle a half inch wide and the length of your string. Fill in the empty space with designs.
Once the glue has cooled, peel your work off the glass and create one last glue attachment to bring both ends together. Leave the piece as is or glue beads and rhinestones to your jewelry.
Saturday, March 3, 2018
Adding Grommets to a Sweater
Seems easy enough. Take a pullover sweater. Cut it down the center. Sew ribbon on either side of the cut yarn. Insert grommets on each side of the piece next to the ribbon. Lace the new creation with a contrasting color ribbon. NOT!
This turned out as an epic fail. The sweater didn't fit as I expected after the alteration. Although, I did learn how to install grommets. From that lesson I have another project in the works.
Just goes to show that not all ideas work on the first try. Some projects need more thought and more practice. Watch for another fabric revamp this week.
Tuesday, February 27, 2018
Updating Ikea Nightstand with Marble Adhesive Paper and Black Chalkboard Paint
This Ikea Tarva night stand started its life as an unfinished piece of pine. I painted it silver. Yes, silver. The color didn't thrill me. What to do? I had left over black chalkboard paint which is essentially flat black paint. Paint the whole object or part - that was my dilemma. I fell in serious like with some marble adhesive paper from Lowe's. It was Duck brand and available locally. I left the inside cubby and a bit of trim with the silver paint job. Then I cut a section of adhesive marble paper to fit the top of the table, a.k.a. nightstand. To finish the project, I found a screw that fit into a brass finial top, again from Lowe's, and used that as the drawer pull.
Monday, February 26, 2018
Friday, February 23, 2018
IKEA RAST Dresser Hack
IKEA sells a Rast pine dresser that is begging for a creative update. It doesn't hold a lot of clothes, so I made mine into a night stand or bed side table.
After assembling the wood dresser, I painted the drawer fronts with a semi-gloss white paint. Next, I stained the top and sides using a dark brown stain. Once the drawer fronts were dry, I attached brass angle brackets. The handles were scavenged from a dresser on garbage day and painted gold/bronze to match the brackets.
Suddenly, this $30 dresser was elevated into the three figure range.
Thursday, February 22, 2018
Chair Covers from Curtains
These chair covers remind me of "Gone with the Wind". You know the scene where Scarlett is meeting Rhett Butler after the war and she has nothing to wear. Scarlet can't greet him in the ragged dress she is wearing and she spies the green velvet curtains. Devising a plan, she makes a dress from her mother's drapes.
I got a great deal on these blue paisley Waverly curtains. Love the material, but the drapes didn't work with any of my windows. What to do? That's when a glue gun and stapler came to mind and like Scarlett, I formed a plan. I recovered two chairs using the curtain material. The top chair was completed using a glue gun. The second chair, I stapled and draped the material.
I actually like the second chair's results more than the first. And the second chair was also easier to assemble. Both projects took less time than sewing the fabric.
Wednesday, February 21, 2018
Gold Thumbtack Art
Want hip and happening art for less than $5? Check out these two pieces I made. Both use black foam core from the dollar store along with four boxes of gold thumbtacks.
Subscribe to:
Posts (Atom)